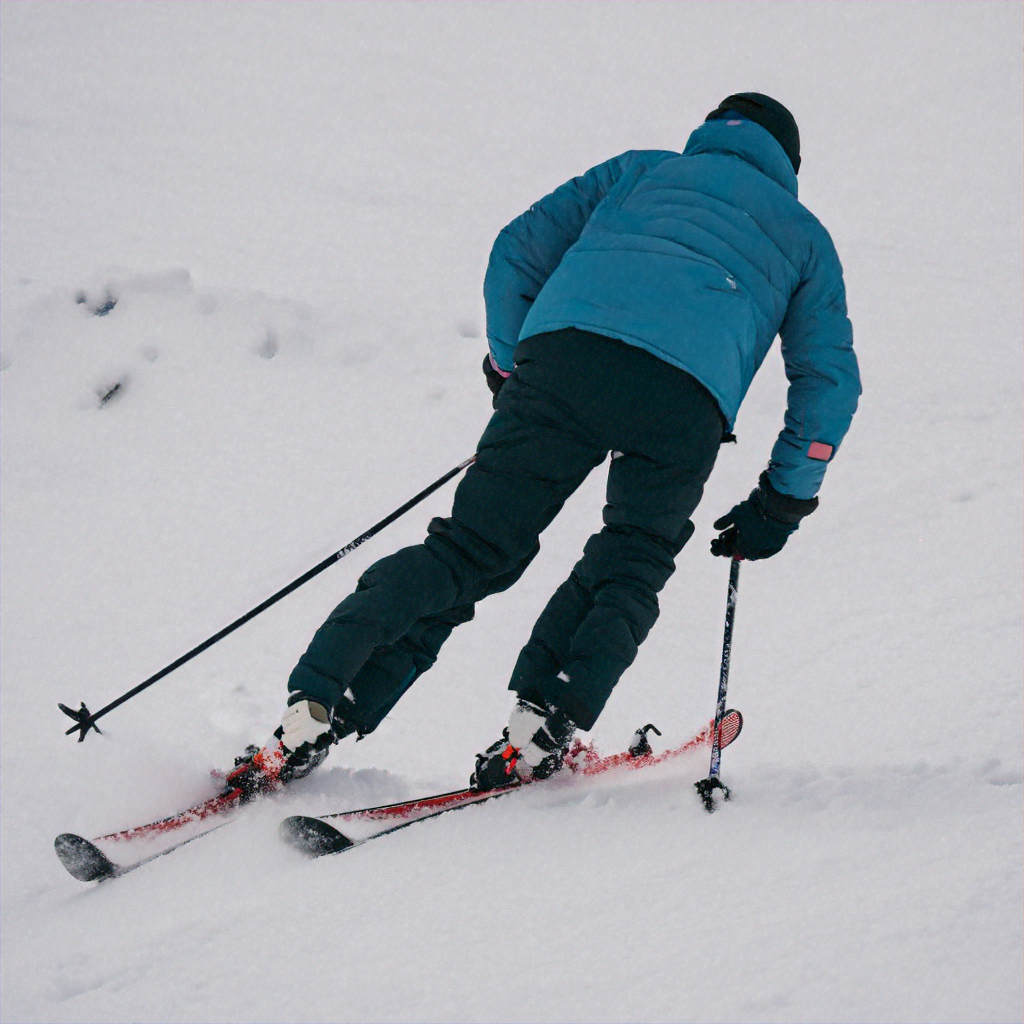
Aching feet and pressure points can turn a fun ski trip into pure torture. But fear not, there’s a solution: Stretching your ski boots!
Now, I’m not gonna lie, stretching boots involves some expertise. That’s why it’s best to find a good bootfitter who can handle the job. But here’s the thing: knowing a little bit about the process can be a huge help. It’ll allow you to understand what the bootfitter is doing and even figure out what kind of stretch you might need.
So, buckle up (pun intended) as I share the most common ways to transform those ill-fitting boots into your own personal foot havens!
1. Widening the Forefoot:
The “Jumbo” tool is often used for this purpose. Inserted into the boot’s front, it allows for gradual widening to accommodate the metatarsal bones. Customization with foam padding ensures an optimal fit and results.
2. Reshaping the Toe Box:
Additional length or, more commonly, width can be achieved in the toe box using pre-shaped wooden blocks or metal toe fittings. These are inserted and pushed forward with a manual or hydraulic crank to create the desired space.
3. Single Stretch/Punch:
For targeted pressure points caused by the boot’s shape, the “Manual Press” offers a solution. It allows for precise adjustments in terms of location and amount of stretch or “punch” applied to the shell. This technique is effective for addressing issues with ankles, bunions, or other specific areas.
4. Volume Expansion:
For significant discrepancies between foot size and boot shell, the “Ultracam” tool provides a comprehensive solution. It enables simultaneous reshaping of both boots, allowing for significant volume increases through stretching and widening. This is particularly beneficial for skiers with wider feet.
Crucial Considerations:
Precise Marking:
Accurate identification of pressure points is vital for successful stretching or punching. Replicating the boot fitting process can help pinpoint areas requiring additional space. Chalk is the preferred marking tool to avoid permanent stains, and large marks or circles should be avoided.
Heating Technique:
Proper heating is essential for effective reshaping. The process must be gradual, reaching a minimum temperature of 300°F. Rapid heating risks melting the outer plastic while leaving the inner layer insufficiently heated for molding. Allowing for thorough heat absorption throughout the plastic is crucial.
Post-Modification Care:
Once stretched or reshaped, boot shells should be kept away from heat sources like heaters or dryers. Excessive heat can cause the plastic to retract and lose its new form. Ideally, store boots at room temperature or cooler.
By understanding these techniques and considerations, skiers experiencing discomfort can explore the potential for modifying their existing boots for a more comfortable and enjoyable skiing experience.
Bonus Tip: Wear thick socks while stretching your boots to simulate the fit you’ll have on the slopes.
Remember: There’s always a risk involved with DIY stretching. If you’re unsure about any step, consult a professional. However, with careful research, the right tools, and a patient approach, you can achieve a comfortable, customized fit for your ski boots and conquer those slopes in style!


